


I remember my first experience with "piccata" and I'm sad to say that it wasn't a very good one. It was a veal piccata dish, made by an old friend who had invited us to dinner back in the late 70's or very early 80's. It wasn't because it was veal. I like veal. To be totally honest, I have a love/hate relationship with it. I enjoy it immensely (when it's prepared properly) and ground veal also happens to be a very integral ingredient in my meatball recipe. The only "down" side to veal, is that I have to take my emotions completely out of the equation whenever I eat it. It's kind of like the whole venison/Bambi thing. I only get it in certain restaurants and I have to trick my mind into not thinking that I'm eating, well.... you know. Let's just let it go at that, right? I think we'd all have a better rest of the day. 😳
Now, don't get me wrong... I'm not saying that my friend was a bad cook. On the contrary, I think she did a good job with the meals that I'd had before at her table. This time, however, was a bit of a disaster. The oil and butter that she cooked the meat in, never got up to the proper temperature and whenever you cook with fats or oils, that just isn't a good thing - especially when it's been coated with flour or breadcrumbs. The coating just soaks up the oil like a sponge and unfortunately, I don't think she knew it would continue to do so, because she just kept adding more. The veal became quite tough and chewy and the normally lightly browned outer coating was... well, not.
We were all very polite that night and tried to act like we loved the meal, but I found out from other friends who were dining that night, that I wasn't the only one who was clandestinely spitting each bite into my napkin. I've often wondered if she noticed and just let it go, to avoid embarrassment on all sides.
I suppose I should have thanked her really, because I learned something from that experience about what not to do. The result of that dinner (or maybe I should call it a lesson) ended up being two-fold. A) I learned to never add meat to a pan that hasn't come up to temperature and B) when it comes to piccata, I decided that I'd just stick with chicken.
I promise that my recipe will come out just right every time, because I've made it many, many times over the years and perfected it in the process. It's a very lovely Northern Italian staple and it also happens to be one of our favorites.
*The recipe I'm giving you will serve 4 people, but I had only two chicken breasts in the freezer the day that I decided to photograph the meal for the blog and I cut one rather large breast in half to facilitate even cooking, so you'll see only three pieces in the photos.

Classic Chicken Picatta
Serves 4 - (can easily be doubled)
- 4 Boneless Chicken Breasts, thinly sliced or pounded
- 3/4 Cup All Purpose Flour
- 2 Tbls Capers, rinsed
- 4 Tbls Butter, divided
- 2 Cups Chicken Stock or Broth
- 1/2 Cup Dry Vermouth
- 1/4 Fresh Lemon Juice
- 2 Tsp Kosher Salt
- 1 Tsp Fresh Ground Black Pepper
- 1 Tsp Italian Seasoning
- Zest from 1 Lg Lemon (2 Tbls)
- Light Olive or Vegetable Oil
- Fresh Chopped Parsley, for garnish

If you're using whole chicken breasts, you'll need to butterfly them, cut them in half or pound them down to about a quarter of an inch thickness so that they'll cook evenly and quickly. *See my note above.

As I say in all of my recipes, it's important to have as much of your "prep work" done before you start to cook. I don't do it just for the photo op. It really makes the entire cooking process go much more smoothly. So, take a few minutes to zest and squeeze your lemon(s). Have all of your seasonings and flour ready to go in a container that will fit the size of the meat you're dredging in it. If there are wet ingredients like the vermouth and chicken stock in this dish, have them all measured out as well. Also rinse things like capers and drain them, so that you can just toss them in when the time comes. You get the drift.
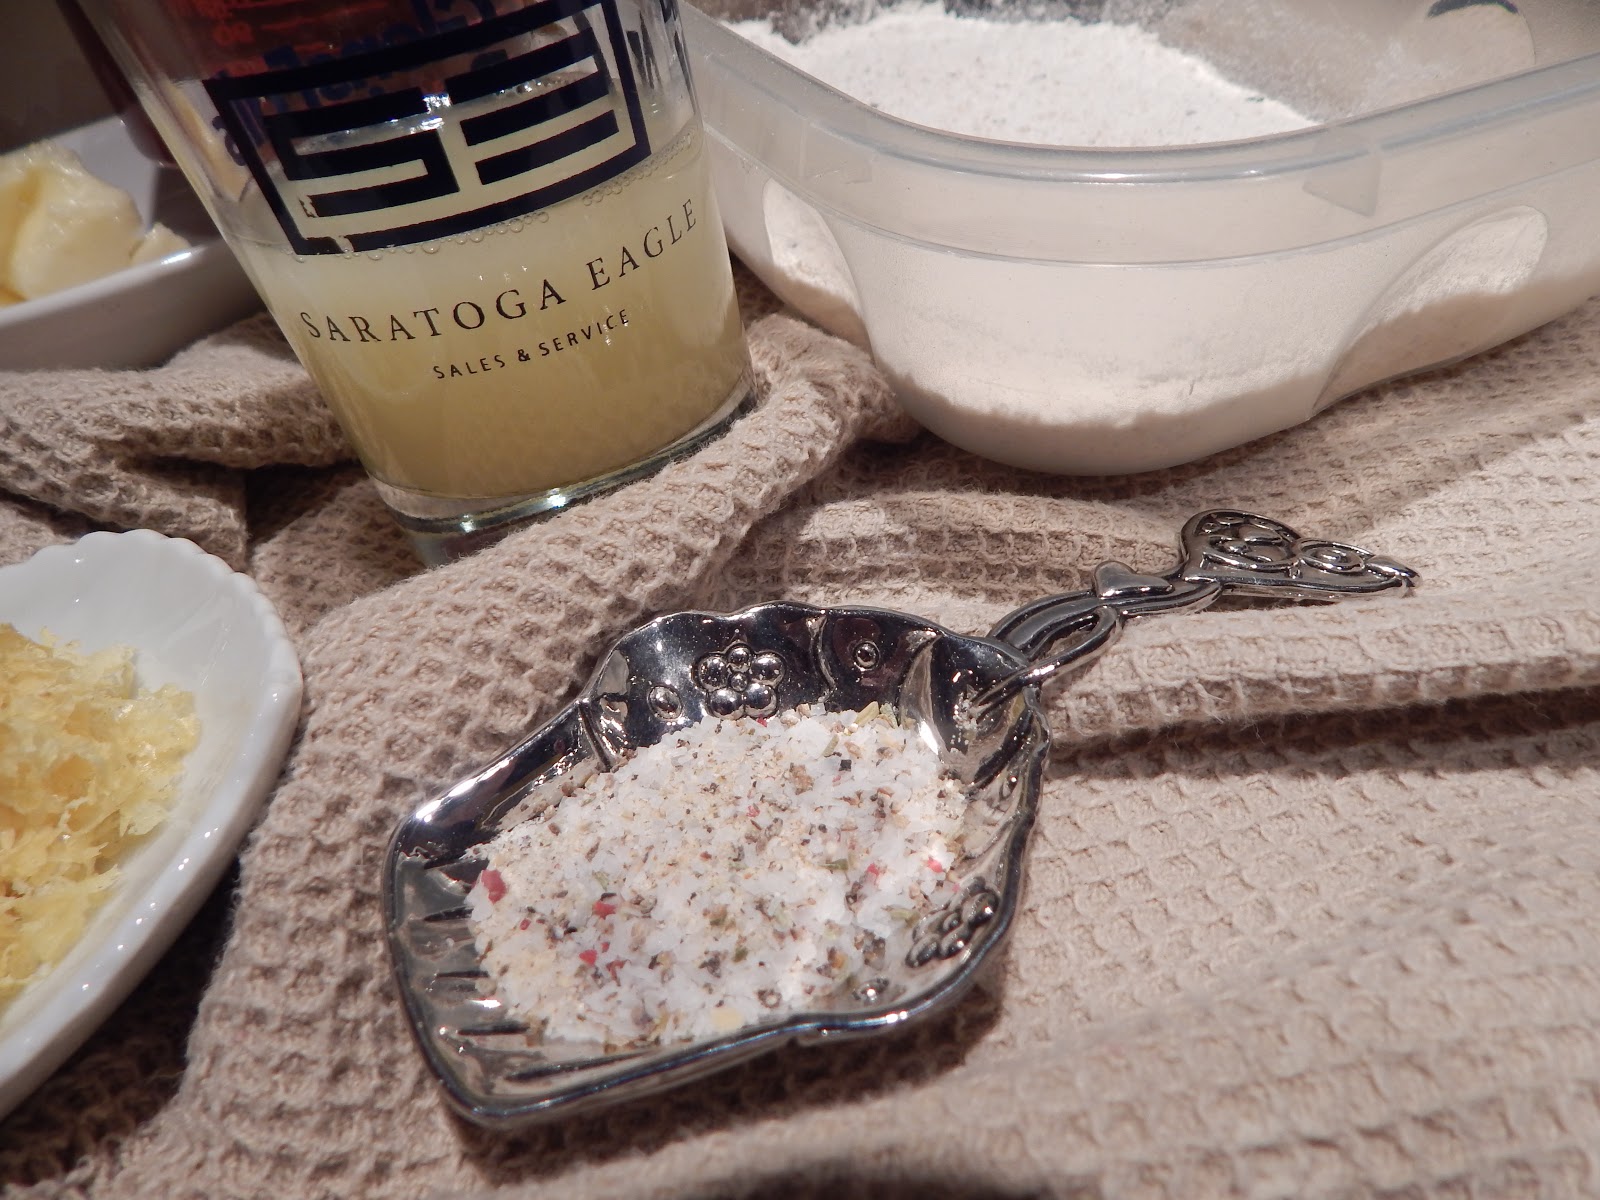
I will often mix my dry seasonings together and put them into a tiny prep bowl or one of the funky little spoons that I collect. (like the one shown in the photo above)

As you can see in the photo, I make sure that the flour or breadcrumbs being used to coat or to dredge meats or vegetables is always seasoned, even when I've seasoned the food itself. Seasoning is all about layers, my friends!

Capers are one of those ingredients that's kind of an acquired taste and if you know from experience that you just don't like them, you can leave them out. That being said, if they're something that you've never tried, please do give them a chance. They're an integral part of piccata and they get a bad rep because many cooks don't take the time to rinse and drain them before adding them to a dish. They usually come packed in jars filled with a salty and/or vinegary brine and that can add a bit too much pungency to a dish if they're just dumped in straight from the jar.


Season both sides of the chicken liberally with the salt, pepper and Italian seasoning mixture.

Add any remaining seasoning to the flour. If you don't have any left after seasoning the meat, you can just add the seasonings one by one or make up another slightly smaller bowl of them and add them into the dredging dish or plate.

Give the flour and seasoning mixture a good stir to incorporate them well. You don't want any small pockets of overly seasoned flour and large areas that are not seasoned a all.

Using your very clean hands or a pair of tongs, dip each piece of chicken into the flour mixture, turning it over as needed until the chicken is nicely coated. Some people like to use a two step, or wet dry process here. This is when you dip or soak the meat in question in an egg wash or buttermilk, etc. before you add it to the dry ingredients, whether that's flour or breadcrumbs. (or both in some cases) I don't feel this is necessary this time, simply because I don't really care for a thick crust on my chicken piccata.

Try not to have any "bald patches" on the meat, so if you're making a larger batch and you run out of your dredge, just add an appropriate amount of flour and your seasonings to the dish and continue the dredging process. Put the coated chicken pieces onto a plate or sheet of waxed paper until you're done with all of them and your pan is ready to start cooking. You also want to make sure to hang onto any leftover flour mixture for later use in this dish. (**this is specific to this recipe, because it will be used in a way that it will continue to be cooked for a while after it's second use.)
**If you aren't going to be using a dredge mixture in a way that it will be cooked longer during the course of the recipe, do not ever save a mixture that raw meat has touched for later use. It has been "cross contaminated" at this point and would cause illness to anyone who ate food that was prepared with it.

Add about two teaspoons of light olive or vegetable oil to a large skillet that is preheating over a medium high flame.

Once the oil is distributed well in the skillet and is heated to the point where it is sizzling, you can start adding your chicken to it.

Cook the chicken, turning it frequently until it is nicely browned on each side and cooked all the way through. This shouldn't take more than about 3 (maybe 4) minutes per side when the chicken breasts are this thin.

If it looks like the flour is starting to get too dark, too quickly or it starts to smoke, turn the heat down a couple of notches to medium or even medium low for the remainder of the cooking time.
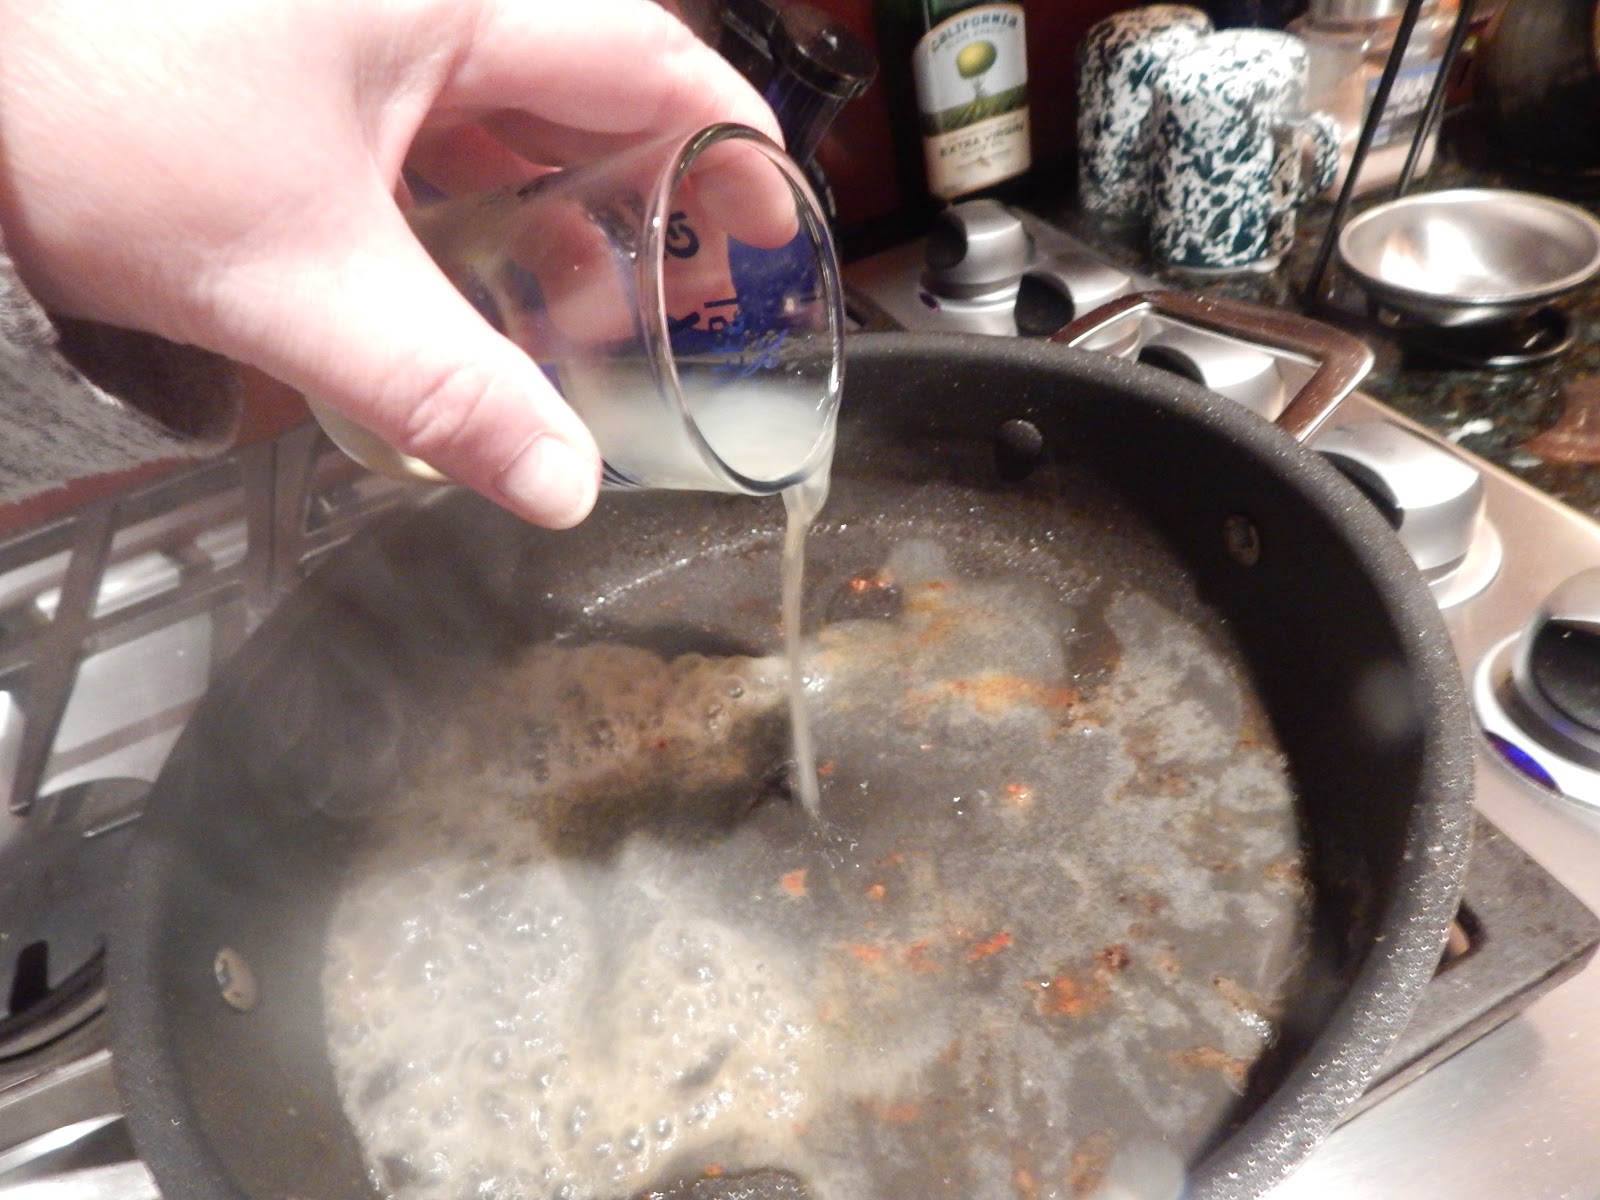
Once the chicken is cooked through, remove it to a clean plate and cover lightly with foil to keep it warm. Maintaining (or returning to) a medium to medium high heat, add in the lemon juice and stir it around with a spatula, scraping up any browned bits and thickened juices (called fond by the French) from the bottom of the skillet.

You'll see that the bottom of the skillet is "clear" of pretty much all of the fond.

Continue cooking and stirring occasionally, until the lemon juice has reduced slightly.

Add in the dry vermouth (or white wine) and reduce that by about 1/3rd.

Add in the 1/2 of the lemon zest...

...and the capers. Stir or gently swirl the pan to incorporate both.

If you aren't seeing small bubbles around the edges of the skillet, you'll need to turn the heat up a tiny bit until you do.

Take about a tablespoon of the reserved seasoned flour mixture and add it to the skillet.


Stir the flour into the liquid in the pan until it is the consistency of heavy cream. Keep stirring it for about a minute to cook out any "raw" flour taste.

At this point, slowly pour in about 2/3 of the chicken stock.
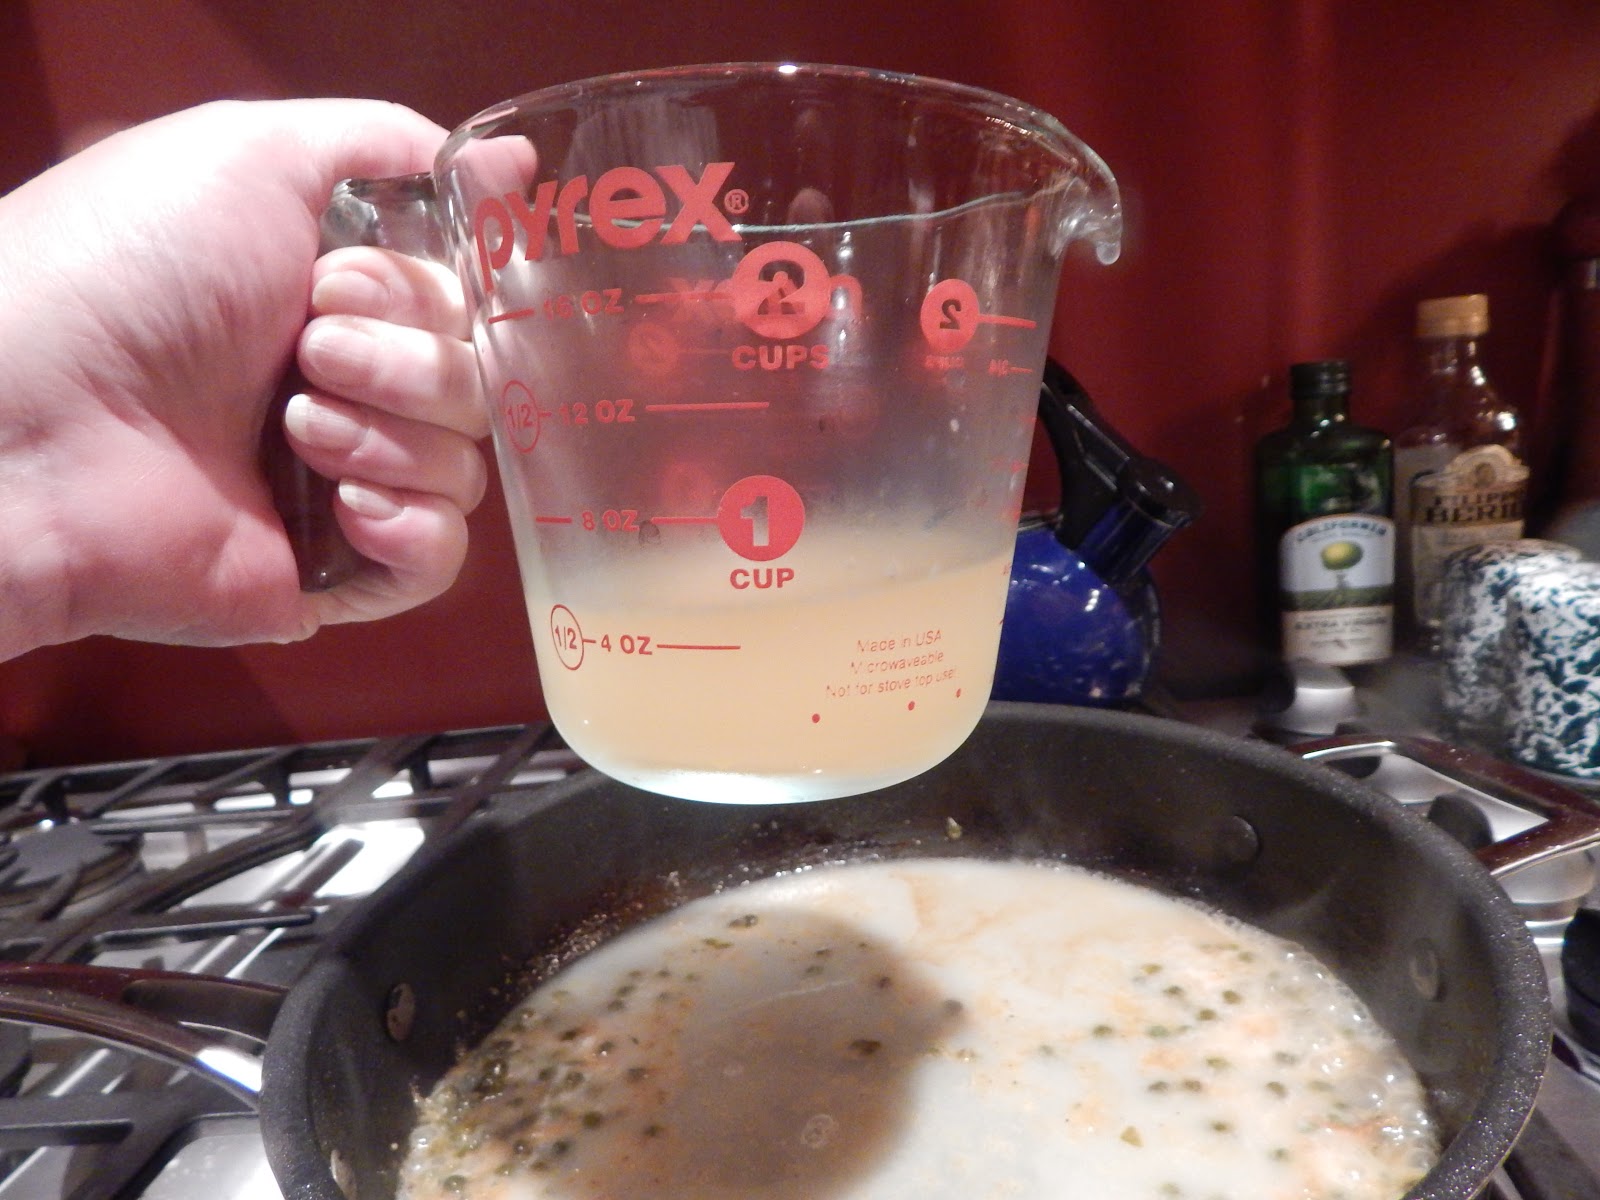
Set the remaining stock aside for a few minutes.

Return the chicken pieces to the skillet.

Make sure to get any juices that have accumulated on the plate. Those juices are pretty much "liquid gold" because they have a lot of flavor in them!

Continue to cook the chicken, turning it over from time to time to coat it in the sauce and heat it back through. (no more than 2 to 3 minutes)

The liquid in the skillet is going to continue to reduce and thicken during this time, so that's why you'll need that reserved 1/3rd of the stock.
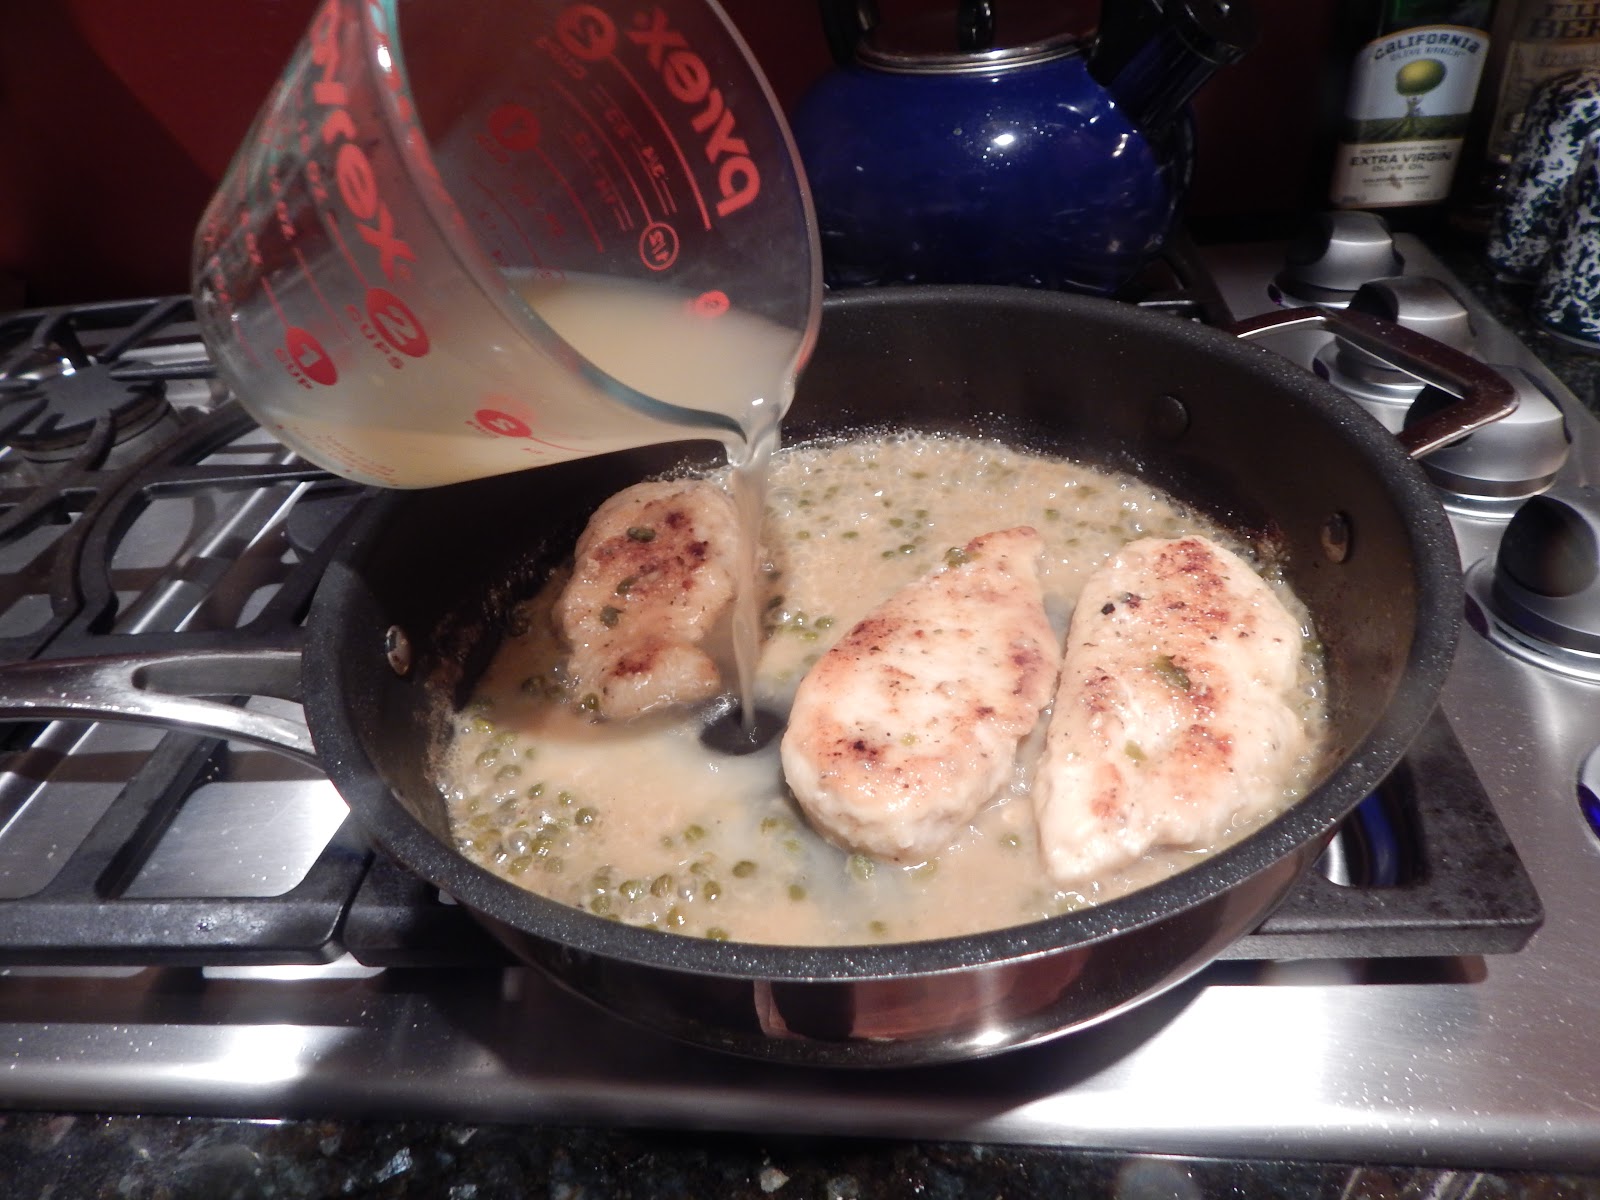
Add the rest of the stock and continue cooking and turning the chicken in the sauce that's forming.

Next, add the second 1/2 of the lemon zest and stir well. This will add a nice kick of fresh lemon to the sauce that will have dissipated while it's cooked for a while.

After cooking for a about 2 more minutes and once the chicken is heated back through, remove it from the pan to a warm platter or individual plates and serve right away.


We love to have long cooking jasmati rice with this dish, but you can serve it with your own favorite type of rice, buttered noodles, potatoes - or whatever you like best. If you're avoiding or cutting back on carb intake, serve it over a bed of sauteed spinach or alongside your favorite veggies. No matter what you decide to serve it with, once you've tried it, I think you'll want to make it again and again. It's a bit addictive. 😊
Enjoy!
Mary
Don't forget that you can print this (or any) recipe using the "Print Friendly" button at the foot of each post. It's a great little feature that allows you to remove any pictures (or any text that isn't relevant to the recipe) before printing. That can save on ink and paper & in today's economy, who doesn't want to save a little cash when you can?!


Hi, old friend! I've been "lurking" but not commenting for a long time, but I just had to say something this time. I have never tried to make chicken piccata, but since I just took some chicken breasts out of the freezer tonight, I'm going to give it a whirl tomorrow. I have the capers and rest lemon and everything else, so this is the time to dive in!
ReplyDeleteI hope you and your family are doing well. I think of you all often. Take care, and Happy Easter!!! 🐣 🐰
Well Hello, my dear Alycia!! It's SO wonderful to hear from you! This is truly one of our favorite dishes but it had been such a long time since I'd made it, I think I was literally dreaming about piccata. LOL I hope that you were able to give it a try and that you love it as much as we do! It's quick to make, it's a pretty healthy dish all in all and we almost always have the ingredients on hand. It's even "pretty" enough when sliced and presented on the plate, that it can be an impressive dish for company. If you did end up making it, I'd love to know how it all turned out! I've missed you and think about you often as well. I'll try to stop by Tablescapes very soon to see what kind of lovlieness you've been up to! It was a long rough Winter so I didn't get around to any of my favorite blogs (like yours!), but I'm praying that the change of seasons will bring better days ahead. Happy (belated) Easter and Happy Spring!! xoxo
Delete